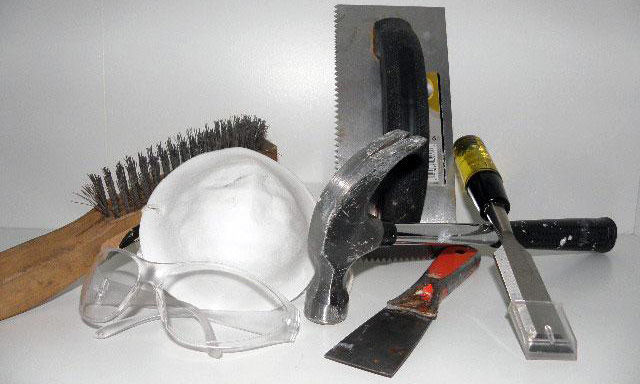
- Chisel
- Hammer
- Wire brush, broom, or vacuum
- Concrete repair mix
- Trowel or putty knife
- Concrete sealer
- Protective gear like safety glasses, a face mask, and gloves
How to Repair Cracks in Concrete

A crack in the concrete of your driveway, patio, or walkway can be an eyesore, lower your home’s value, or even cause minor accidents. Even the most well-maintained concrete will eventually start cracking or gaping, so you need to know how to fix these problems when they arise.
Repairing these imperfections sooner rather than later can stop them from spreading and save you both money and time in the long run. Luckily, you don’t need to be a DIY pro to fix the cracks in your concrete. All it takes is a half-day of work and some elbow grease. Use this repair guide to help restore your concrete to its former glory and keep it looking good for years to come.
Choosing the Right Concrete Repair Mix

You can’t just patch things up with more concrete; instead, you’ll need a specific repair mix. Pay close attention to what concrete repair mix you buy. For large cracks or chipped edges, mortar mixes are a good option. If your cracks are 1/8-inch or narrower, you’ll be better off with latex or epoxy mixes.
Chisel Debris by Keying

Before you can seal the crack, you’ll need to broaden the gap under the surface. This process is known as "keying" and helps the concrete repair mix bond better. You’ll do this with your chisel. Insert the chisel at an angle into the crack, then use the hammer to pound down gently.
Clean out the Crack

You’ve probably made quite the mess by keying the crack, so now you have to clean it up. This is where the wire brush, broom, and vacuum come into play. Remove debris from inside the crack using the wire brush, or sweep it out of the crack using the broom. Then, use the vacuum to suck it all up so it’s out of your way.
Mix the Concrete Repair Compound

Now that you’ve prepared the crack, it’s time to get the repair mix ready. For this process, just follow the instructions on the package, as they all vary slightly. If you’re lucky, you may have purchased ready-to-go concrete filler, so you’ll just skip this step.
Fill the Crack

With your compound ready to go, grab your trowel or putty knife and begin applying it into the crack. Make sure you fill the bottom of the crack first, pushing down. This process also helps to remove air bubbles. Keep on applying the mix until the entire crack is filled to the level of the concrete.
If you’re using a pre-mixed compound that comes in a bottle with an application nozzle, you probably won’t need the trowel. Just insert the application tip into the crack and squeeze out the mixture.
Once the crack is filled, smooth it out with the trowel. If the rest of your concrete is textured and you want the patch to match, try running a dry paintbrush along the surface to mimic the feel.
Let It Sit

Your work is done for now! Give the concrete time to cure. Every compound is a little different, but usually, allowing it to cure overnight is a good idea. That way, you can see if you need any touchups before you seal it.
Apply the Sealer

If everything looks good after curing, it’s time to seal up your patch. This will prevent it from staining. We recommend using a water-based polyurethane sealer, as it’s easy to work with and dries quickly. Sealant is relatively easy to use; just brush it on and work the mixture into the surface. You may want to use a roller if you have smooth concrete. Let it dry for a few hours, then apply a second or third coat for good measure.
Enjoy Your Restored Concrete

As you can see, repairing cracks in concrete is not a complicated process. It just takes a few hours of your time and will make your home’s exterior shine. It’s one of the simplest things you can do to boost curb appeal and help your driveway or backyard stand out in all the right ways.
While do-it-yourself projects can be fun and fulfilling, there is always a potential for personal injury or property damage. We strongly suggest that any project beyond your abilities be left to licensed professionals such as electricians, plumbers, and carpenters. Any action you take upon the information on this website is strictly at your own risk, and we assume no responsibility or liability for the contents of this article.
Related Articles

How To Install A Wooden Privacy Fence
Wondering how to install a wooden privacy fence? Here’s what you need to know to safely install a privacy fence. Find everything you need to get started.
Learn more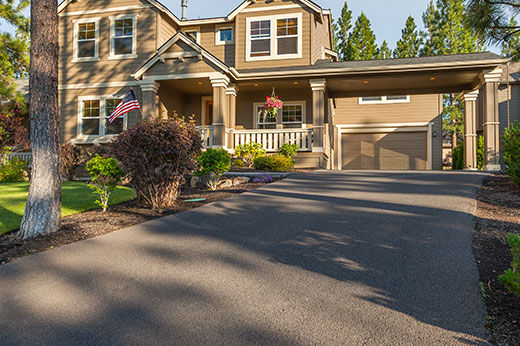
How to Resurface an Asphalt Driveway: Step by Step
Update your home's curb appeal and learn to repair cracks, potholes, and uneven areas
Learn more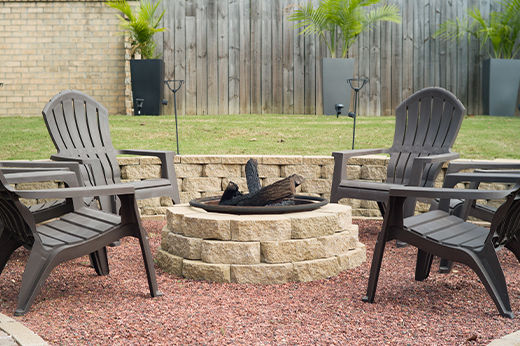
How to Build a Fire Pit
A simple and affordable outdoor DIY project with a step-by-step guide
Learn more
Backyard Privacy Ideas
Enjoy some alone time in the comfort of your own backyard with these simple tips
Learn more
Garage Door Maintenance to Keep It in Tip-top Shape
Six easy and cost-effective ways to keep your garage safe and prevent damage
Learn more